

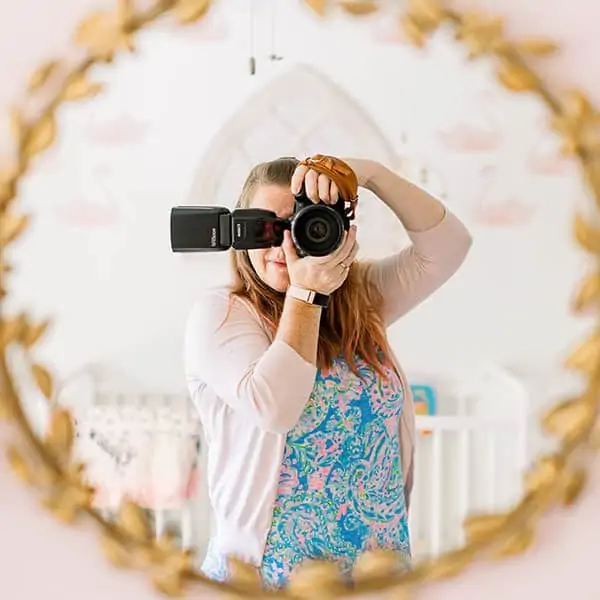
So I think it’s time to talk about gear! I am a gear head but I’ve had to limit myself on what I purchase. So I thought I’d take the next couple weeks to talk about my gear, what I use now, what I’ve used in the past and check out last weeks post to see what my philosophy is when it comes to upgrades! We are going to start with my first major upgrade and my favorite lens by far, my Canon 50 1.2L!
Table of Contents
My First Lens : Canon 50 1.4
I learned on a 50mm lens while shooting my old Ricoh film camera in college. So when it came time to purchase a lens for my shiny new digital camera I went with old faithful and purchased the 50 1.4. I shot mainly on that lens for the first couple years. I loved the focal length and the lovely bokeh it gave at 1.4. I highly recommend it as a starter lens, you can purchase it for around $400. Be careful though it is known for the auto-focus motor to go out randomly. I had to have mine replaced twice while I owned it.
My Favorite Lens : Canon 50 1.2L
While I loved the 50 1.4 lens for it’s great features and great price it was missing something for me. There was something about the images I saw shot with the 50 1.2L that captured my attention, a creaminess it created in skin tones and a sharpness that I just couldn’t get with my 50 1.4. Trust me I tried but it just wasn’t there for me. So I rented the 50 1.2L over the holidays several years ago and as soon as it came I popped it on my 5d and took a photo of my kitchen! A very boring photo of my kitchen but as soon as I looked at the LCD screen I saw it, the creaminess and sharpness I was looking for!
When my rental period was up I begrudgingly sent it back and moped for a bit. A couple months passed and I had just had the motor in my 50 1.4 replaced for a second time, I was not looking forward to the saga of replacing it every other year if not more. I was also still frustrated that it wasn’t giving the look I wanted in my images, the look I knew I could get with the 50 1.2L. So I decided to upgrade before wedding season started last year and I’ve never looked back!
Why I Love the 50 1.2L So Much
Focal Length
I love the focal length of the 50, I use it for the getting ready, portraits, ceremony and even some reception shots. I probably use this lens 60% of the day. I love the look that it gives me and it keeps me close enough during portraits to talk to my clients. The sharpness of the images from it started to make my other lenses look shabby in comparison! I typically shoot this lens at an f 2.0 or wider.
Depth of Field
If I’m doing more formal photos with larger groups I’ll bump it up to a 4.0 to have a better depth of field and keep everyone in focus. I really have to watch my focus points when shooting it at 1.2 closeup, you literally will have like half an inch of depth of field sometime less. If you subject isn’t on the same plane as your camera you can get one eye in focus and one out that is how shallow it is.
Skin Tones
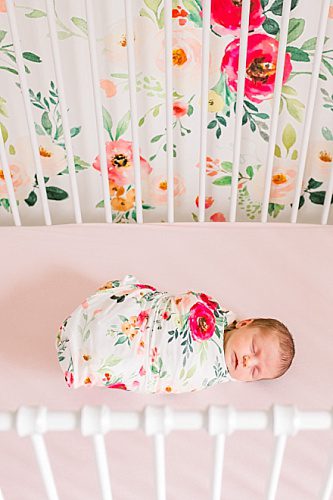
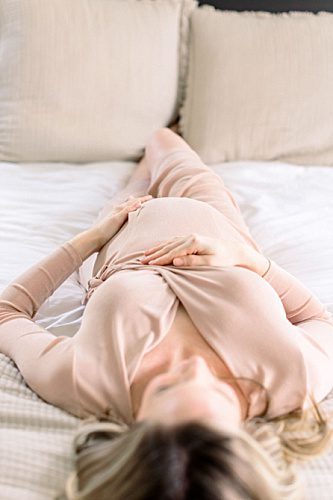
The creaminess it gives to skin tones at 2.0 and wider is STUNNING!!!! I do not use any skin retouching software on any of my photos. By finding the right light and shooting at wider apertures this lens gives the creamiest skin tones! I joke around that it is a magic lens that makes everyone look amazing!
Low Light Capabilities
I also love it for dark churches where you can’t use flash, I have no problems shooting it at 1.2 the entire time to get that extra light. I usually have no issues with depth of field because I’m far enough away from my subjects. So onto some examples. I’ll include my settings and why I chose 1 or more of those settings.

Left : ISO 1250 f/1.2 1/125 – Here we have Emily getting ready, you can see her dress hanging in the window in front of her and she is looking in the mirror while someone adjusts her veil. I knew I wanted her face in the mirror in focus and everything else to fall blurry so I picked 1.2, I needed ISO 1250 for the room because there was not much light. In fact I opened the shutters in the windows to allow in more light. I was able to shoot at 1/125 but would have stopped down if need be. Right : ISO 800 f.2.0 1/180 – While shooting Rachel getting ready I found a moment to capture the reflection of her dress hanging in the mirror with no one else in the way. I will shoot details anywhere from 1.2 to 4.0 depending on how much I want in focus.

ISO 500 f/2.0 1/250 – By placing all the stationery on the same surface they were all on the same plane so I didn’t need a huge depth of field so I went with 2.0. Since I’ve picked up the 35mm I’m shooting paper goods with that because I can get closer but not lose anything out of the frame.

ISO 800 f/1.2 1/125 – Here I deliberately chose 1.2 to give me that shallow depth of field to really send your eye to the reflection in the mirror. You’ll probably see 1/125 in my settings a lot because that is where I’m most comfortable hand holding without taking extra precautions to prevent camera shake. I had to test myself one day shooting a trash can to figure out where my camera shake tolerance was.

ISO 250 f/1.8 1/500 – The girls are close to the same plane but not exact so I went with 1.8 here and I was okay losing focus at the edges of the group. My point is that you can still get a great group shot at wider apertures!

ISO 400 f/2.0 1/1000 – One of my favorite ceremony spots at The Mill at Fine Creek because the light is just heaven sent! Even though I’m at a pretty good distance to fit the bridal party and bag piper in the frame I like 2.0 because it increases my depth of field even more at this distance.

ISO 640 f/1.2 1/125 – Churches are typically pretty dark so I like to switch between my 2.8 zoom lens and my 50 1.2 to give different looks. Shooting at 1.2 allows me to lower my ISO to avoid grain without losing anything in the image because of my distance to the subjects.

ISO 1000 f/1.2 1/125 – This wedding took place after sunset, there was zero natural light coming in the windows! Again shooting at 1.2 allowed me to shoot at lower ISO levels to avoid grain. Plus the light looks clean and beautiful with my 50!!

Left : ISO 200 f/1.8 1/250 – I chose 1.8 because I was shooting two people and I wanted to freedom to be able to move them around without having to worry about my depth of field for each new pose. Right : ISO 250 f/2.0 1/350 – Seriously this venue has the best lighting!!! I went with 2.0 because there were two subjects plus they were walking, keeping the aperture wide though gave me the creamy look to her skin and the beautiful 50 sharpness.

Left : ISO 250 f/2.0 1/500 – I included this shot to show you that even at wider apertures you can back up to increase your depth of field but I think you’ve got that now! Right : ISO 400 f/4.0 1/750 – I highly encourage everyone that even if you have a church wedding have your formal photos taken outside!!! How gorgeous is Amanda’s family formal here shot outdoors?!?! The light is so yummy compared to church lighting!!! I shot this at 4.0 to ensure everyone would be in focus.

Left : ISO 200 f/1.2 1/1600 – Even at this distance 1.2 looks awesome! Plus you can use the 50 to give you a more panoramic look to your images you just have to backup ;). Right : ISO 125 f/2.8 1/1000 – Another panoramic with the 50 but still keeping the bride and groom as the focus.

ISO 1250 f/1.2 1/125 – Ok to be honest I have no idea why I shot this at 1.2! I do think it worked out awesomely by having Erin tack sharp but Dylan is a blur from my depth of field plus his backwards motion. I swear this is the funniest photo I’ve ever taken!!!

ISO 125 f/2.0 1/250 – This is what my 50 1.2 is made for in my opinion, beautiful tack sharp images with creamy skintones. Jill and Paul who are getting married this weekend look amazing! These shots are the bread and butter to my style!

ISO 125 f/1.2 1/1000 – I had been shooting them at a 2.0 but stopped down to 1.2 to put the focus on Jill with the sun highlighting her hair. I love the little bit of lens flare from the sun too!

ISO 1600 f/1.2 1/125 – My first time shooting sparkler shots I was second shooting so I had the freedom to experiment with going all natural light. I decided to just max out my camera and see how it went! I knew I needed to let as much light into the camera as possible to get a good exposure on their faces. For the Canon 5d v1 1600 was pretty much the max on acceptable ISO range without things getting too grainy so I started there. I opened up my aperture to f/1.2 and set my SS at 1/125 which was fast enough to capture them moving without motion blur. As soon as someone near me lit a sparkler I quickly took a photo of them with the sparkler lighting their face and could adjust from there if it was too much light. If there are a lot of people with lots of sparklers plus additional lighting from the venue then you might need to stop down. Test shots are your friend here!

ISO 1600 f/1.2 1/125 – This really has been my magic setting as far as sparklers go! It has worked for me all but one time. That time they group was spread very far away and there weren’t many people so there wasn’t a lot of light. I had to boost the exposure in post. But 99% of the time this works great for me!! Now with the 5d3 and it’s ISO capabilities I don’t ever anticipate not having enough light 🙂

ISO 160 f/1.6 1/500 – Not a wedding photo but one that was just for fun on the beach with my husband David and my baby girl Maxie. Since I was shooting the two of them playing I stopped down to 1.6 but I wanted to challenge myself to try to focus while they were moving around with a shallower depth of field instead of going with something safe like 2.0 or higher. The actual area in focus is her ear, that is the sharpest part. Do I care that his face is soft? Nope! It is a perfect moment of her giving her Daddy a kiss!

Left : ISO 400 f/1.6 1/2000 – 1.6 gave a beautiful creaminess to Janine’s skin tone and because I wasn’t worried having Mike in focus I kept my aperture wide. Right : ISO 400 f/1.6 1/1600 – Same as the left I wanted that creaminess!

ISO 125 f/2.0 1/1250 – Again here I’m shooting two people so I wanted that extra reassurance at 2.0 that my depth of field would be good but still get that nice bokeh to the background.

ISO 200 f/2.0 1/2000 – Love this light! I swear I could not get this with my 50 1.4 and I tried so hard too! I had been shooting Rae with her new husband Chris to my aperture was still set to 2.0 from those shots.
Okay I think you should have a pretty good idea of my shooting style with the 50 1.2 from these posts 🙂
Melissa Arlena is an award winning lifestyle newborn photographer in Charlottesville and Richmond, Virginia who has earned her Master Photographer Certification from NAPCP in maternity, newborn and family photography. Her natural and simple work has been featured in magazines and online blogs worldwide. She has been named Best Maternity and Newborn Photographer in Richmond and Charlottesville, VA in 2024.

Hi thanks for this great post. You really demonstrate the capabilities of the Canon 50L lens. I just got this lens and havent had time to use it yet. Reading this post and seeing the images gives me great confidence in putting this lens to work. I am hoping that with practice I too can produce beautiful images! Thanks again for sharing.
Amit