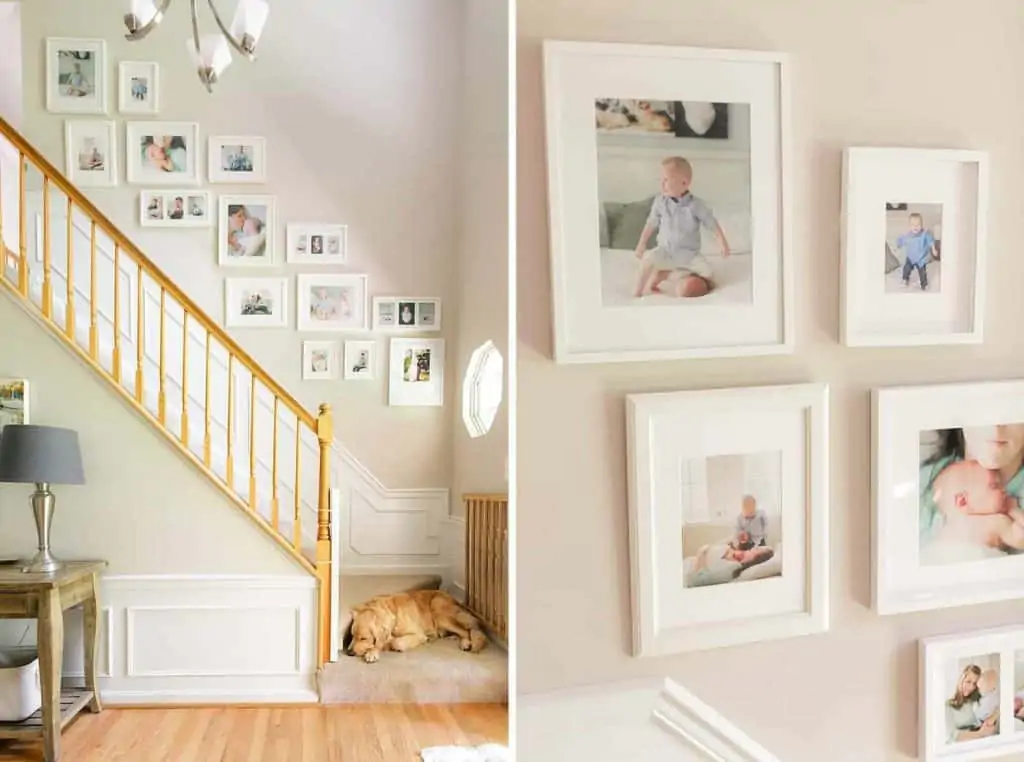
I thought I’d talk about how I design my eclectic stairway picture wall designs for my clients today. I’ll go into the behind the curtain process in my brain so if you are interested in working with me you know exactly what to expect! If you are here from Pinterest feel free to scroll for pretty pictures lol! But definitely check out the link to my staircase gallery wall design to get even more inspo!
How it all started
About 4 years ago a blog reader came across my post on how I created the stairway picture wall in my home. She LOVED it but didn’t feel like she could DIY this particular project so she reached out to hire me to do it for her. I was so excited because I love projects like this. It combines my love of DIY and interior design all in one. Who doesn’t love creating something from start to finish!
Pre-Design Consultation
Since it was my first project like this I did an onsite visit to check out the staircase and the spaces around it. This let me take photos of the staircase to use in the design. It also let me get a sense of this family’s decor style in their home. Now that I’ve done a few of these I find it easier to video chat with my clients and have them give me a tour. Plus I give super easy directions on how to take the photos I need. Being able to look around the home lets me see what colors they are using. Then we can pull that into the design. Often we can grab frames and decor they already have to incorporate too.
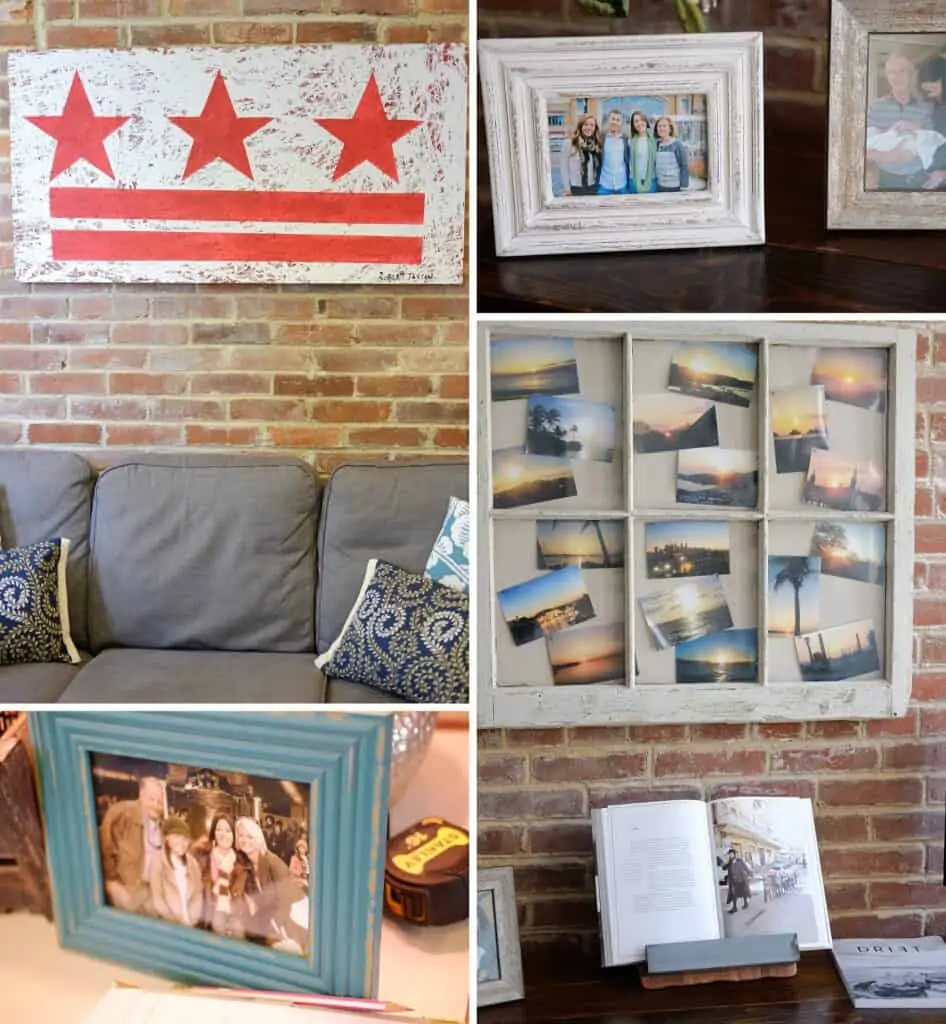
We also discuss preferences on frame sizes. Some clients want larger pieces 11×14 while others prefer everything to be smaller scale ie everything under 8×10. I recommend a few larger pieces to anchor the stairway picture wall. Then we fill in with smaller ones to flesh out the design. Most importantly I find out if my client is wanting something more classic and traditional or do they prefer a more eclectic design.
Design Process
From there I get started on creating a mockup of their stairway picture wall with the design right on it. Here was my first mockup of my client’s staircase gallery wall.
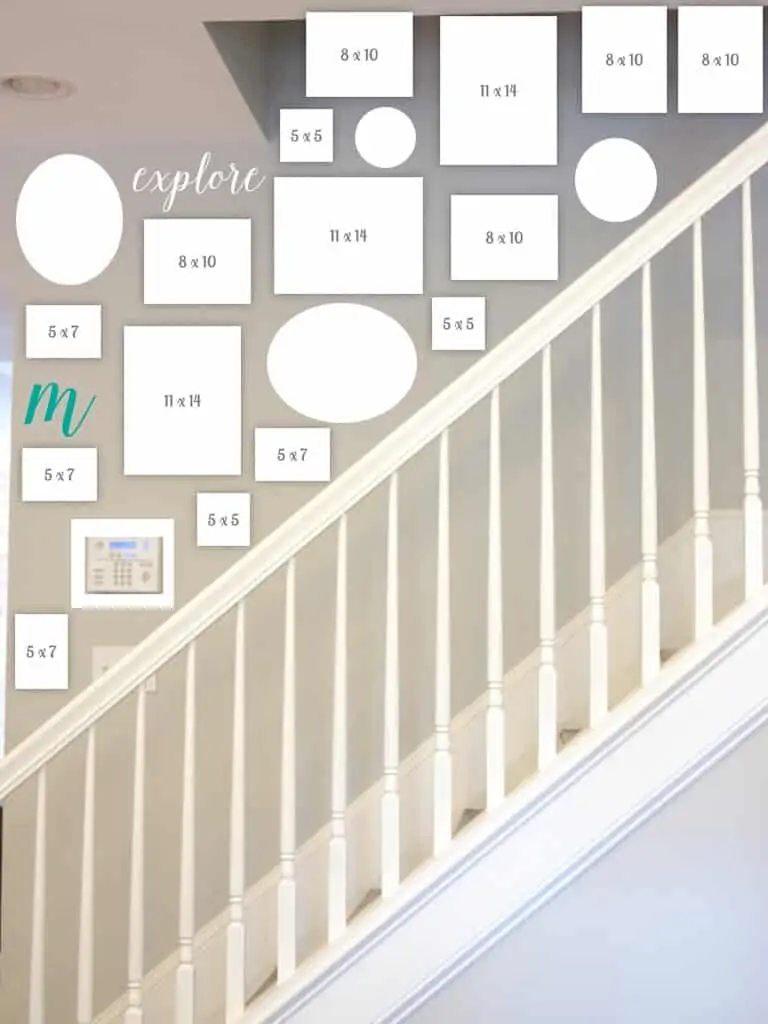
At this point, my clients might request a small change here or there but as long as the overall look and feel is good we move along to the next phase where I overlay their items onto the design so they can start to see it come to life. This is where those pieces they already have are easy to add-in. Once I’ve added those pieces we can start to figure out what color frames we are in need of. I was inspired by the teal frame my client already had so we thought it would be a good accent color to add to the design. White is always a classic so I recommend sticking with that for most of the frames.
Design Tips & Advice
The thing to remember about an eclectic design like this is that it is going to be busy since there are typically a lot of smaller items. If you start mixing too many frame colors that will amplify that busyness. I recommend going with a neutral like white or similar toned wood and then having a few pops of color.
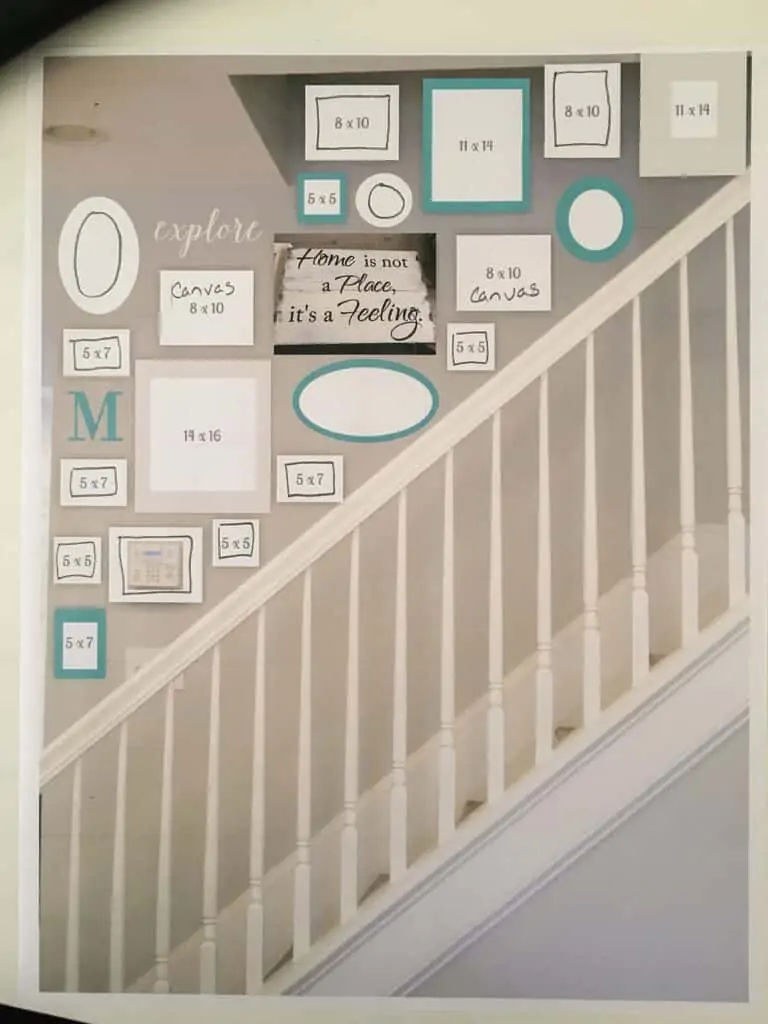
Now we have a pretty solid design to work off of! At this point I put together the shopping list and start working with my custom framers to source the right frame colors and shapes. I tend to order 3-4 additional frames in 8×10 and 5×7 sizes because they come in handy when something needs to be shifted the day of install.
Expectation vs Reality
This is very important to know whether you are going to DIY this or hire me to do it. Your final gallery wall will not match the design 100% accurately. It will still have the look and feel of the design but there are always small tweaks and adjustments that need to be made. That is totally normal and to be honest it’s a part of the artistic process. I like to lay the items out on the floor once they arrive and see the design in real life before I start putting any holes in the stairway picture wall! This let’s me move and adjust things so there is a good flow to the design. It’s not something that is easy to teach but when you get a layout you like you just know that is it!
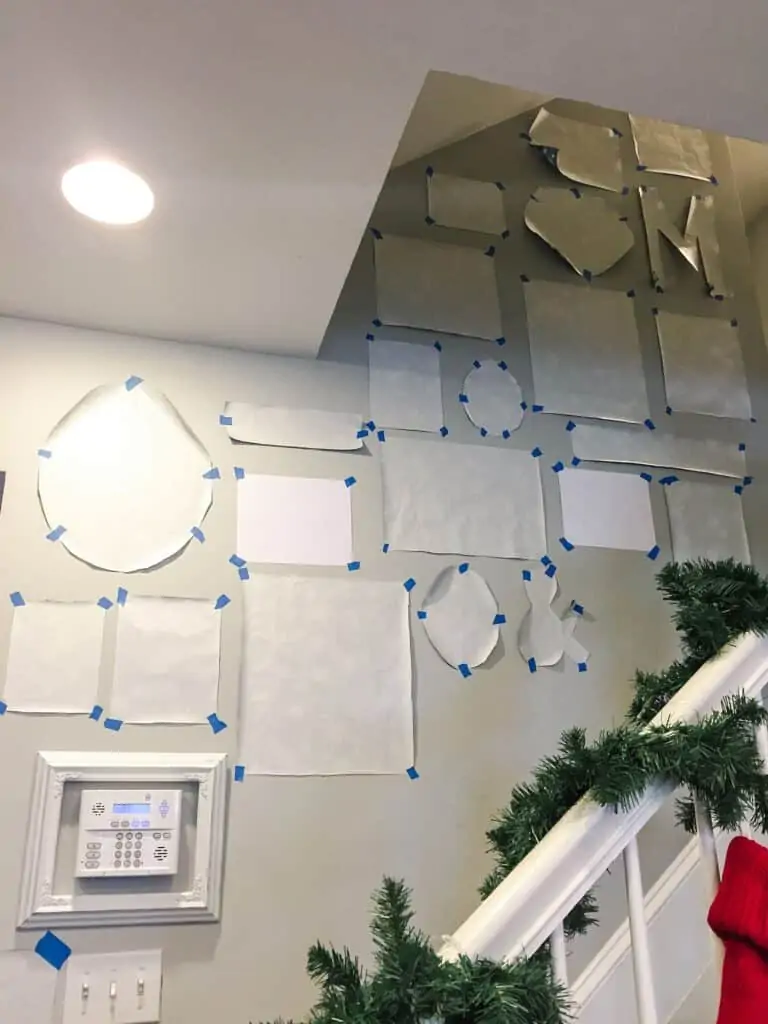
Once I’ve laid everything out on the floor and like how it looks I’ll take a quick photo on my phone and then start cutting the paper templates to go on the wall first. I use wrapping paper for this because it’s cheap and easy to cut. This let’s me mark where nail holes need to be and adjust spacing on the wall to make sure it’s perfect before putting in any nails. Once the templates are up on the wall I’ll step back and look at if from several angles to make sure it looks perfect. With it being a staircase I always want to be sure that you can see the frames above the height of the banister from afar.
Hanging & Adjusting
Now that it looks perfect I can start hanging the items. I tend to start at the bottom and work my way up on these projects. Be sure to keep your spacing in check so you don’t run out of room at the end.
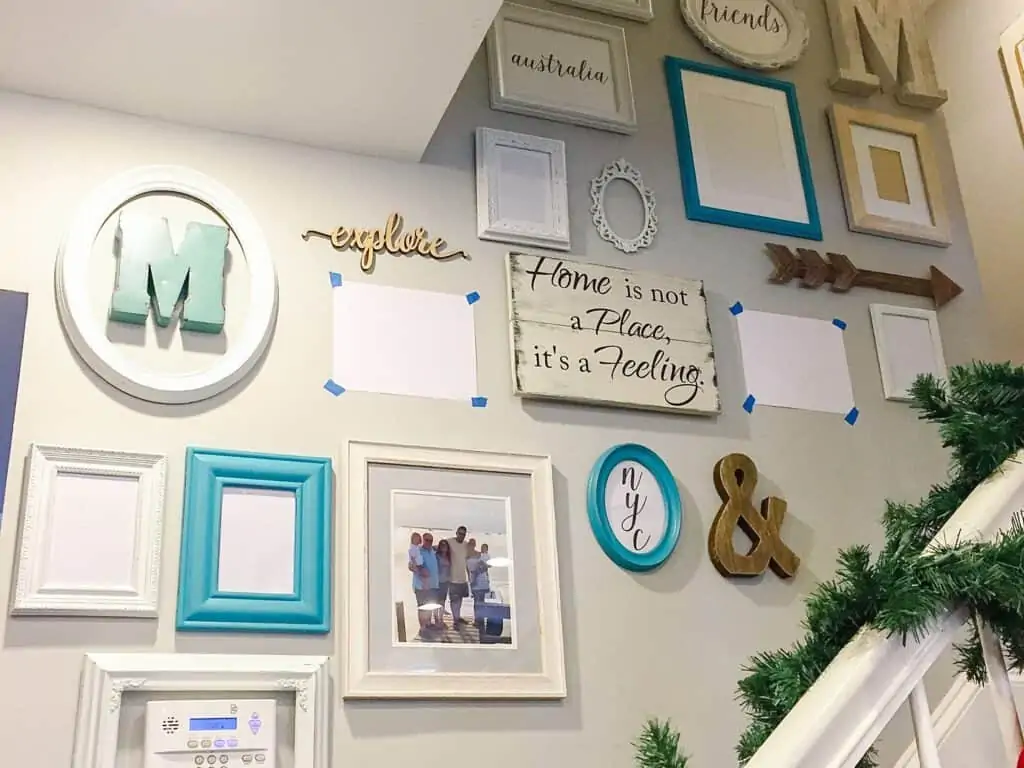
This particular client wanted to add in the photos herself so I hung everything as is and she is able to fill them in later. The two blank sheets of paper represented where to hang gallery wrapped canvases she was planning to order. Since this client liked to travel I filled in a few frames with places they had visited to give them inspiration on what photos to pick.
Final Stairway Picture Wall Design
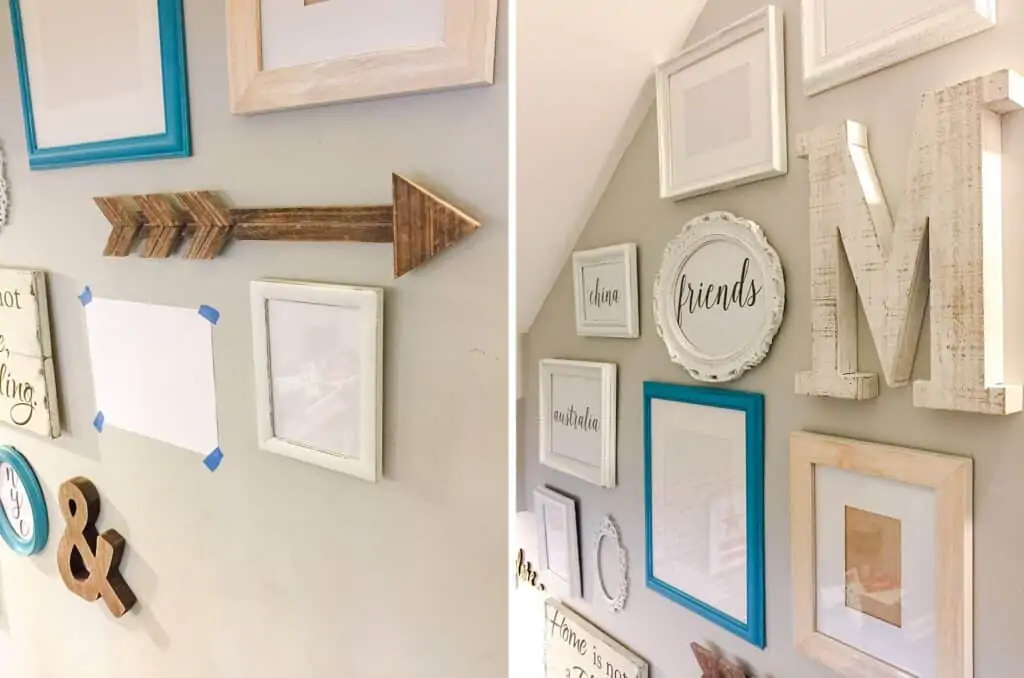
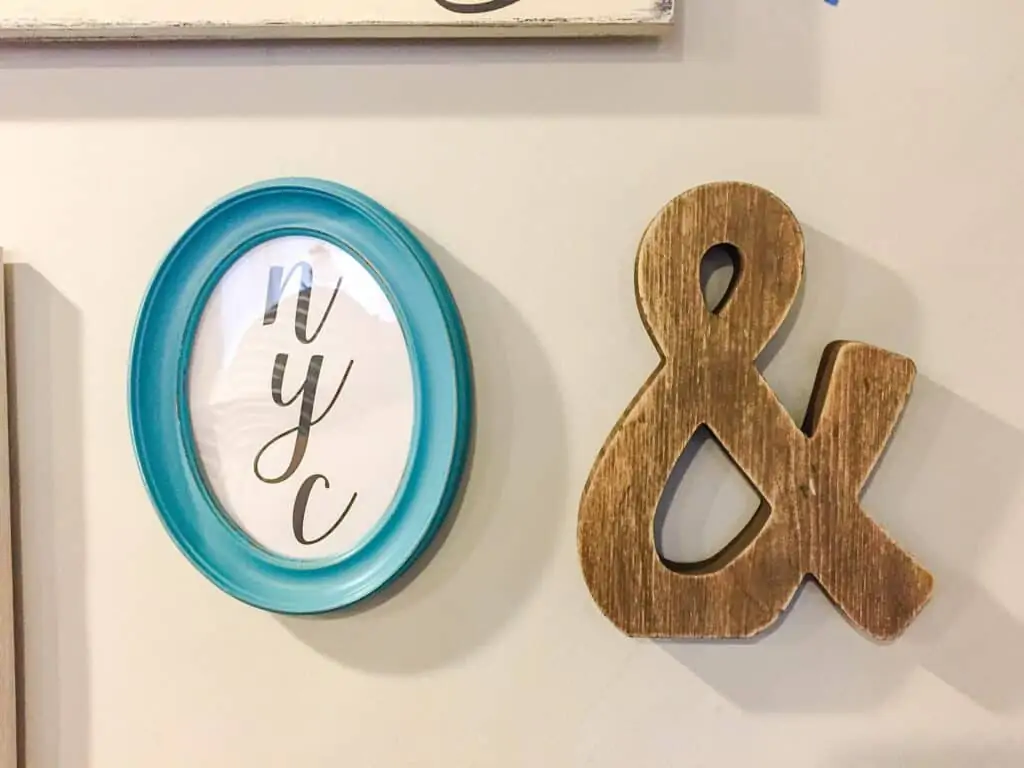
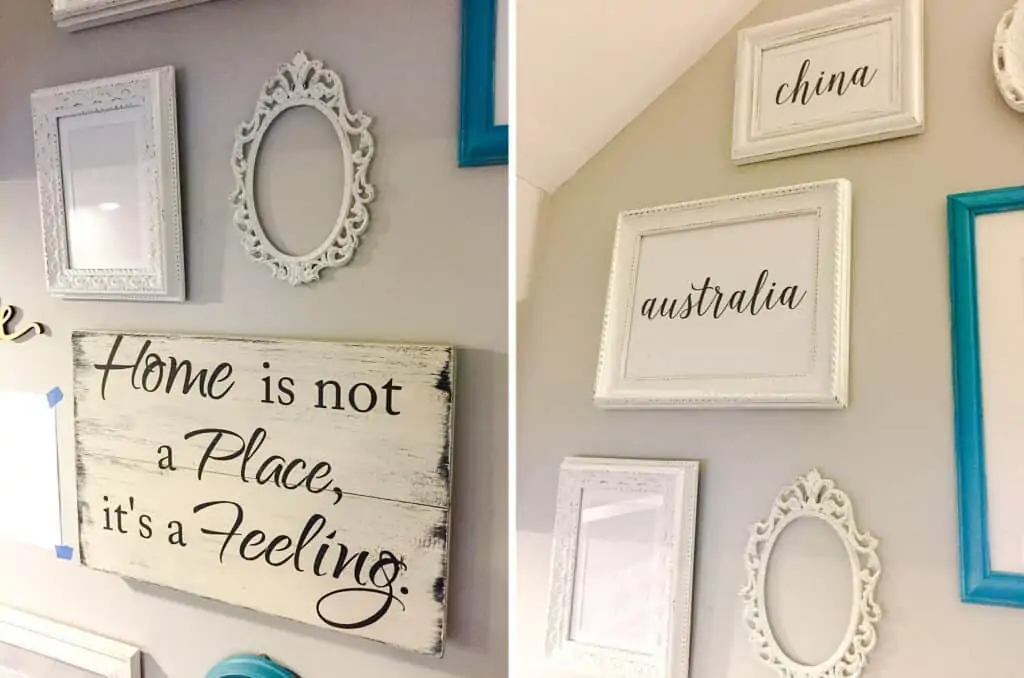
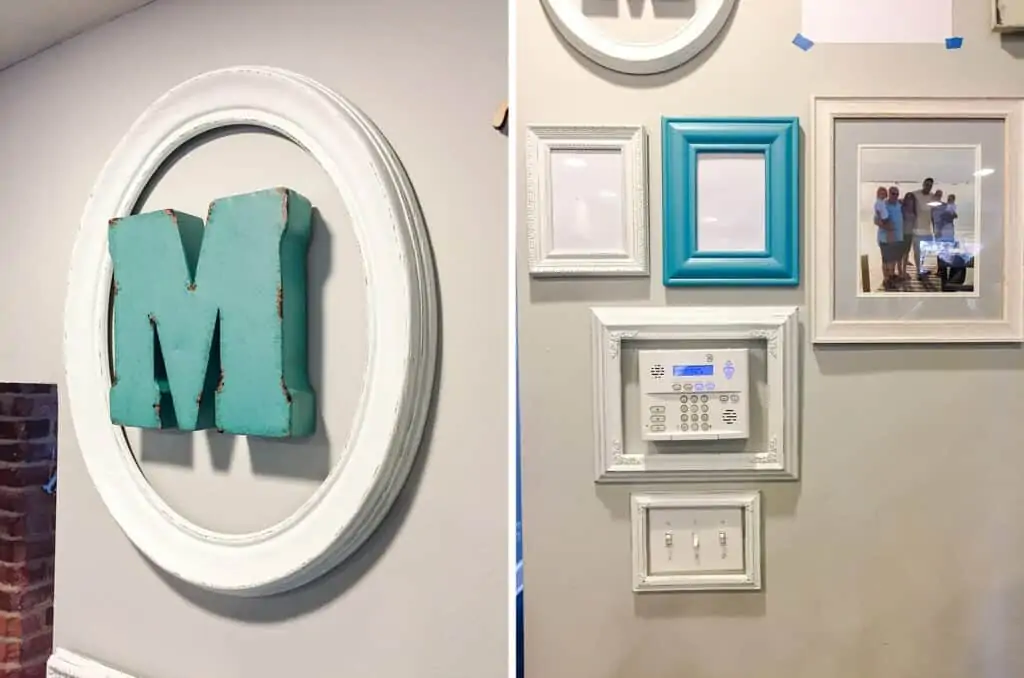
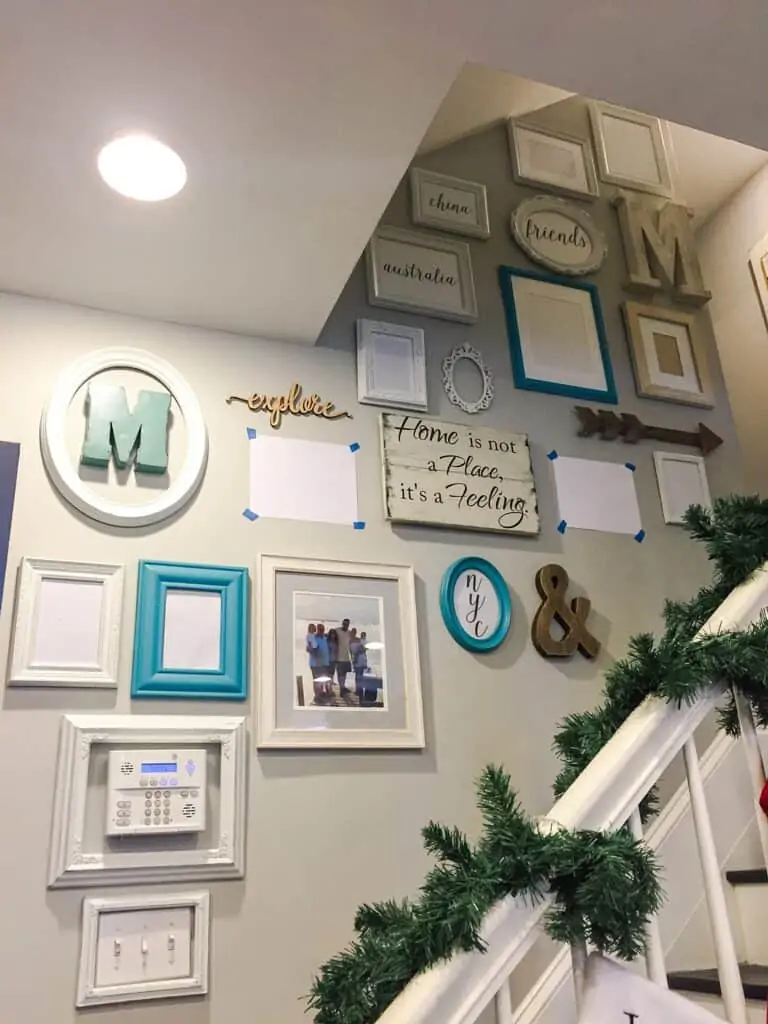
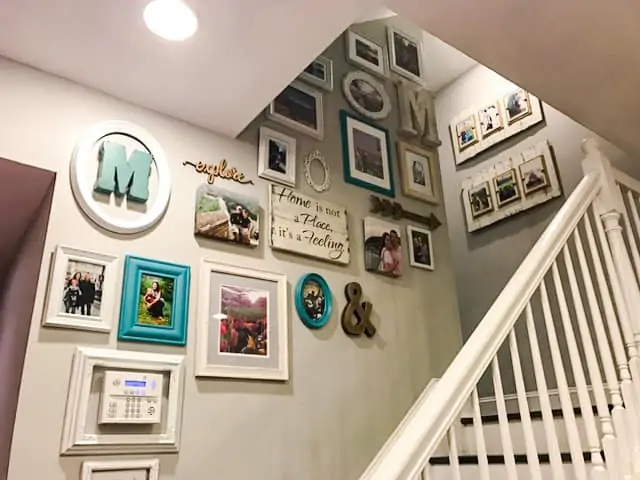
My client LOVED the final design! She said it was super secure and when they had the house repainted she told her husband they weren’t touching the stairway picture wall because it was hung perfectly and she didn’t want to mess it up lol!
They have since moved and just this week I was at their new home taking these frames and elements plus more frames that we ordered and creating two new gallery wall designs on their new staircase. What I loved most was seeing the kids reactions to the photos going back up and how excited they were! Their new house is starting to feel like home for them now!
If you would love a gallery wall design in your home but have no desire to DIY it then contact me today! I offer design services worldwide and installation services locally in Virginia, DC and Maryland.
Supplies List to Hang Your Display:
Favorite Ladder for Stairs
Gorilla Hooks
Command Strips
*Disclaimer: This blog post contains affiliate links. As an Amazon Associate I earn from qualifying purchases. Please note that I only recommend tools that I personally use and love and I always have my readers’ best interest at heart.

