WS
South FloridaMelissa Arlena
Photography
Photography
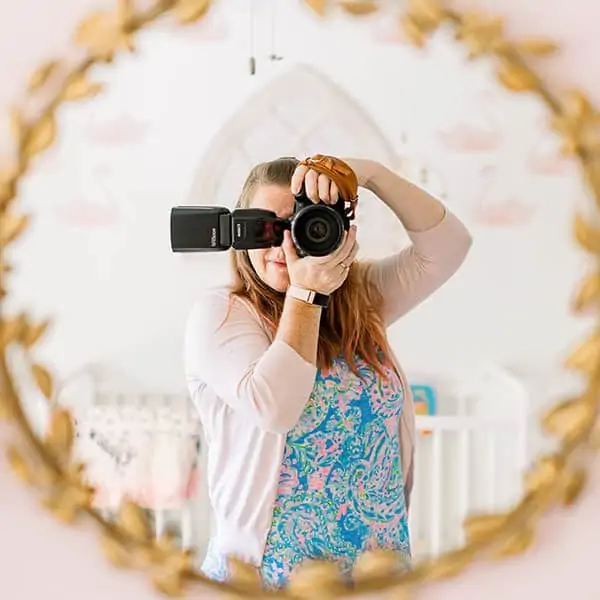
I'm Melissa! Luxury Charlottesville maternity and lifestyle newborn photographer, sailboater, lover of Lilly Pulitzer, and obsessed with interior design. I'm so glad you found me!
browse
THE BEST DOULAS, MIDWIVES & BIRTH CENTERS IN MIAMI
Melissa Arlena is an award winning Richmond and Charlottesville photographer. She recently earned her Master Photographer Certification in the Maternity, Newborn & Family categories from the National Association of Professional Child Photographers. Melissa offers maternity, lifestyle newborn, and family photography in her relaxed, natural, and joyful style.
Melissa serves Charlottesville, Richmond, Staunton, Fredericksburg, Harrisonburg, Waynesboro, Culpeper, Gordonsville and beyond.
Other links
Melissa Arlena Photography captures newborns, maternity, and families.
Charlottesville and richmond, va
Like what you see?